

Hot Maintenance How-Tos


How To: Change the water pump, timing and balance shaft belts on a Porsche 944 Turbo
If you own a Porsche 944 Turbo and hate having to pay hundreds of dollars to fix or keep your care in tip-top shape, check out this next video. In the tutorial, you'll find out how to change the water pump and balance shaft belts on a Porsche 944 Turbo.
How To: Change the front main seal on a Porsche 944 or 951
If you own a Porsche, chances are you know how difficult it may be to work on it yourself without the proper help. Taking it to the mechanic is a safe way of making sure your car will be fine, but it's very expensive. Doing it yourself can be difficult, but if you have a good how to video or article it should be fine.
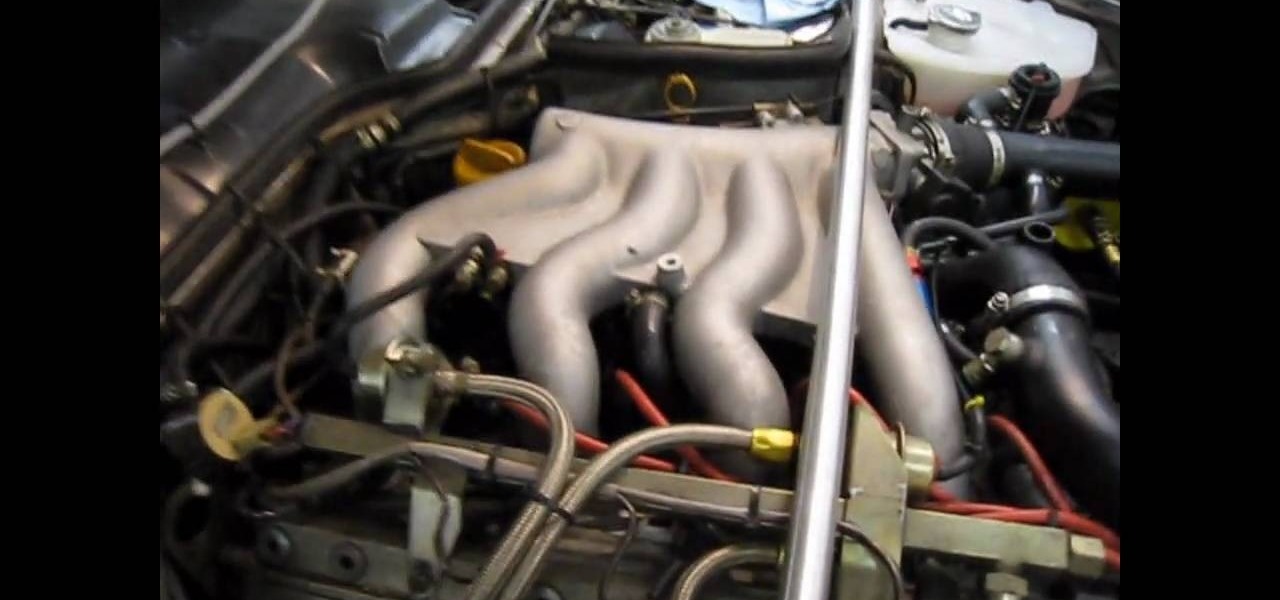
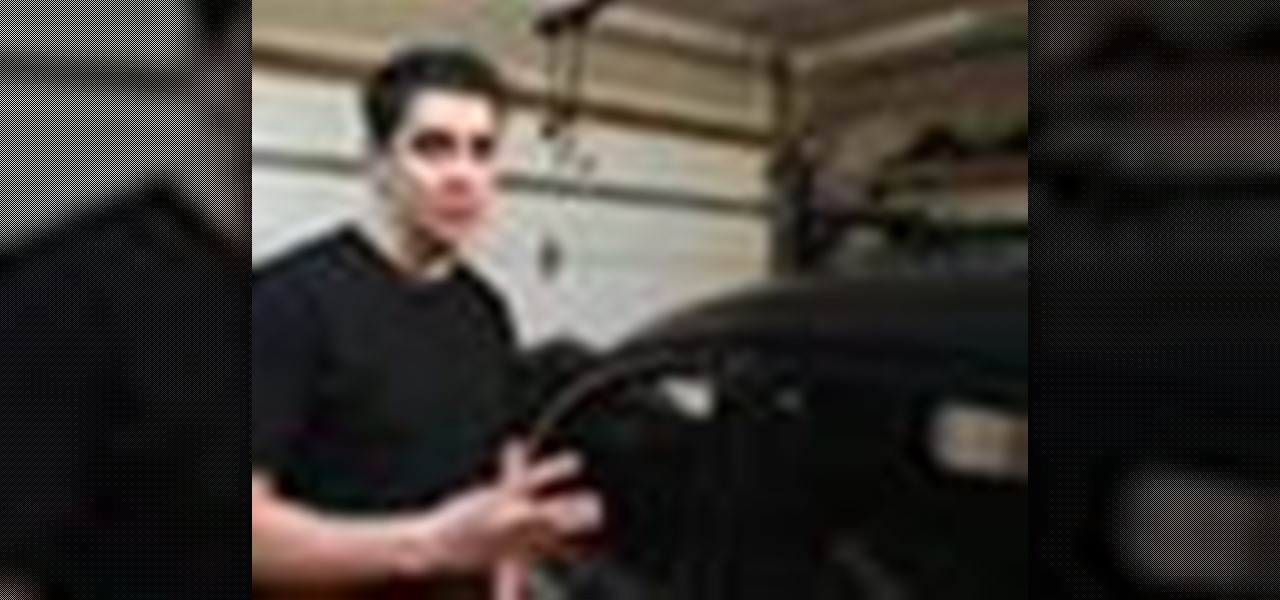
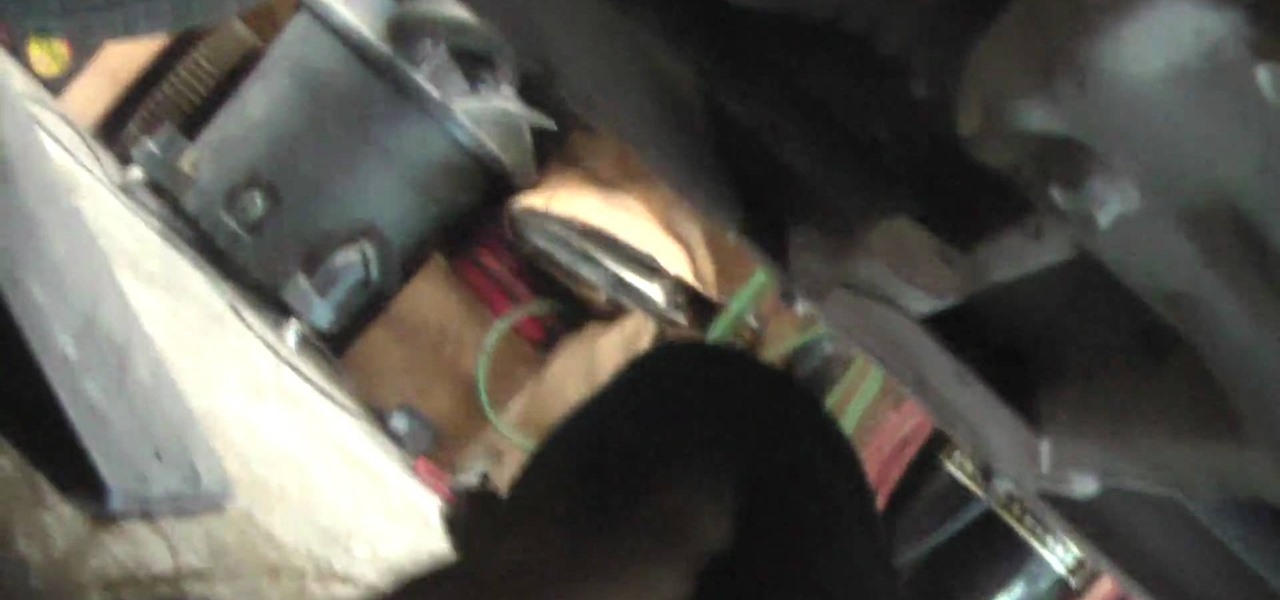
How To: Pressurize a Porsche 944 Turbo's intake system
Do you think that you have a vacuum or boost leak on your Porsche 944 Turbo? Would you like to know, but not pay a mehanic a ton of money on something you can do easily? Then are you in luck! This next video tutorial is just what you need.
How To: Rid an RV of it's stench
In this tutorial, we learn how to rid an RV of it's stench. Typically, the stench that comes from the RV is just because it's a small area with a lot of condensation. There are a lot of products out there that will help absorb the smell and are made specifically for an RV. These will absorb the moisture that is inside of the RV so it doesn't smell any longer. Having these can help get rid of those nasty smells in your RV. Also, make sure you are cleaning the kitchen as well as the bathroom of...
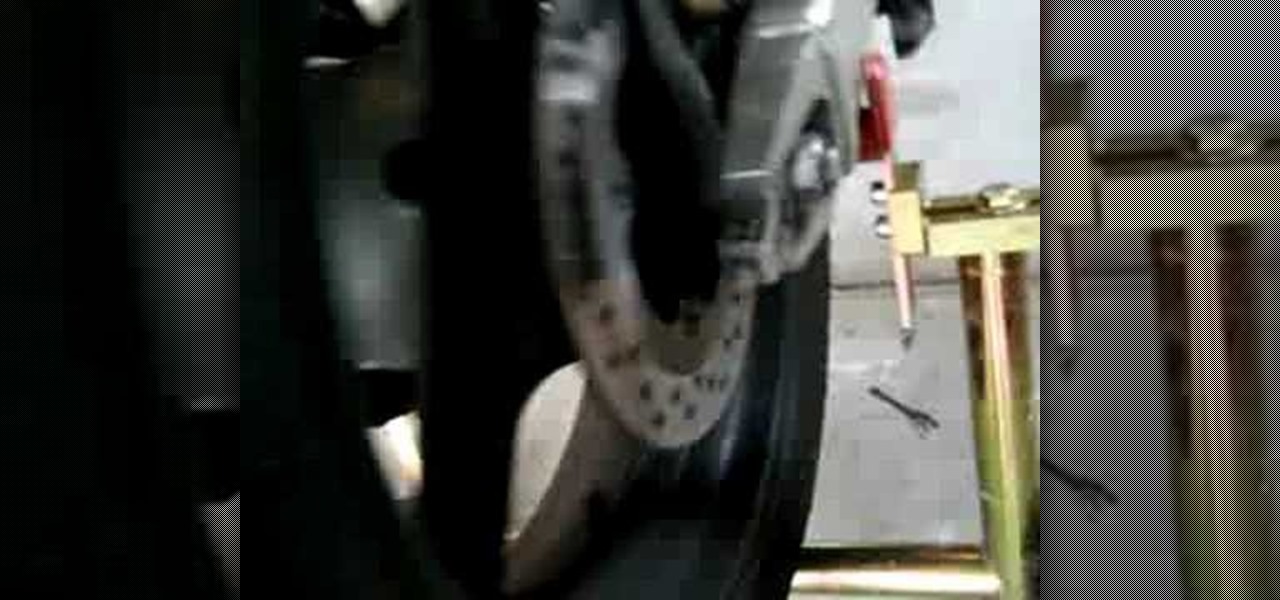
How To: Properly use stands for your motorcycle
If you plan on doing repairs for you own motorcycle, there are a few tools that you'll need first. One of the most obvious is a stand. These help lift the bike and allows you to get into certain areas without having to worry about tipping the bike over.
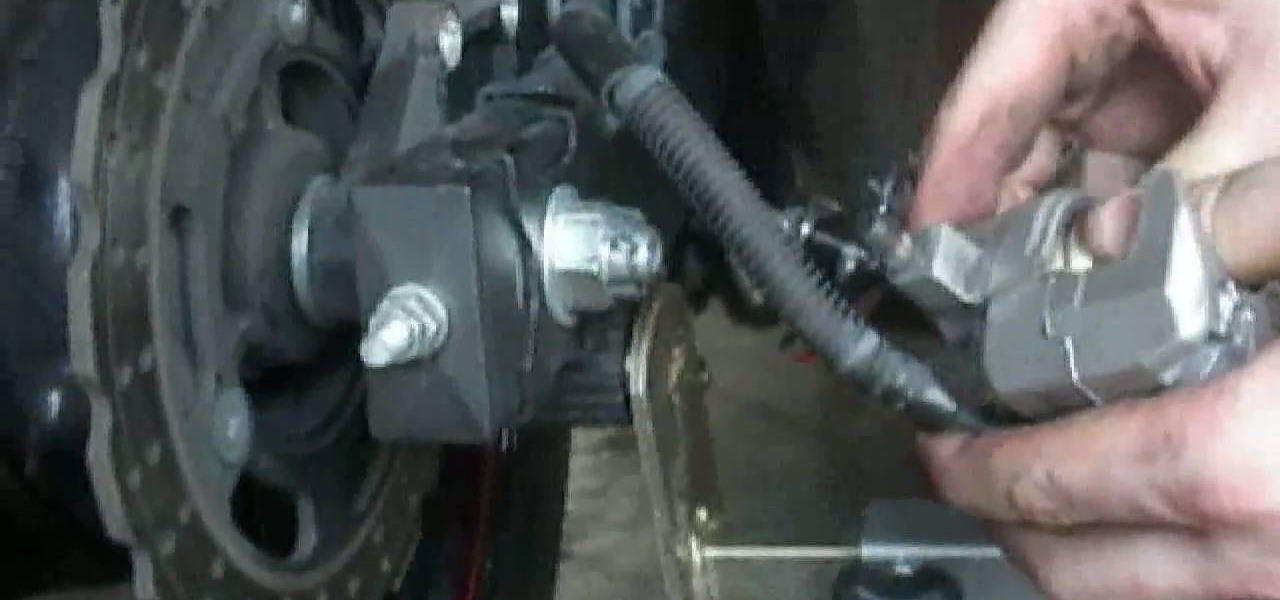
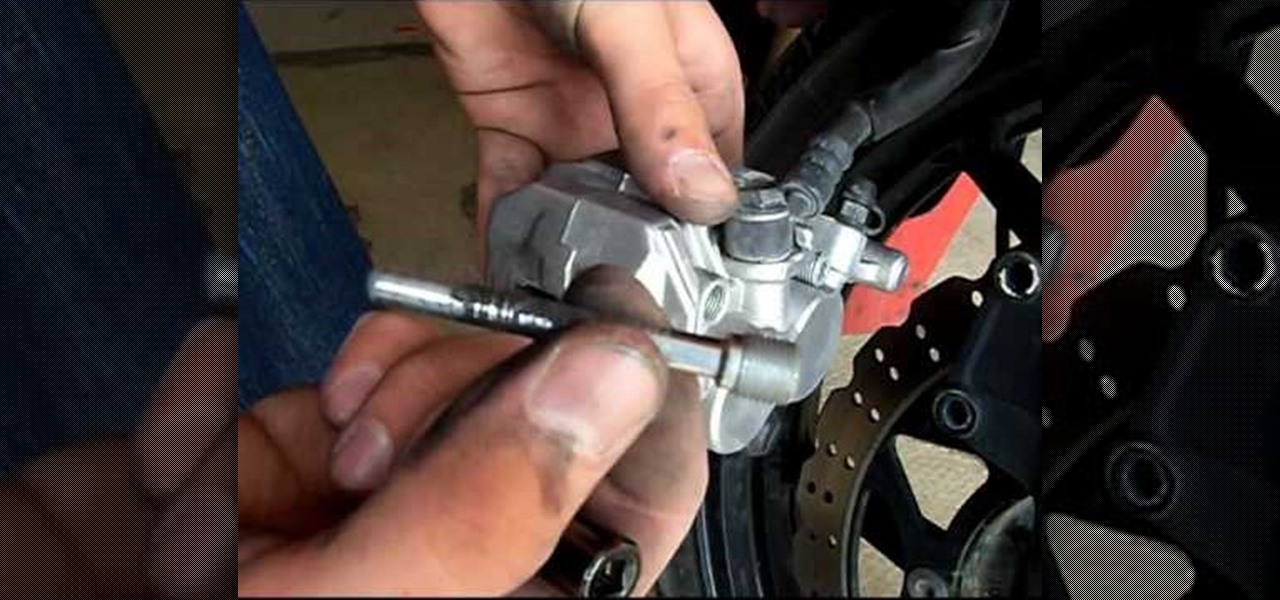
How To: Replace the front brake pads on a 2009 Kawasaki Ninja 250 motorcycle
If you own a 2009 Kawasaki Ninja 250 motorcycle and need help with replacing the rear brake pads, this video is what you need. Instead of taking it to the dealership and paying a ridiculous amount of money, you can have it done yourself.
How To: Change the front brake pads on a 2009 Kawasaki Ninja 250R
Brake pads are essential when owning any sort of vehicle. Driving without them will without a doubt result in serious injury or death. So if you own a Kawasaki Ninja 250R motorcycle, then pay attention to this tutorial.

How To: Replace the chain and sprockets on a Suzuki SV650 motorcycle
Performing regular maintenance work on a car or motorcycle is a great way to not only extend the life of your vehicle, but save a lot of money.
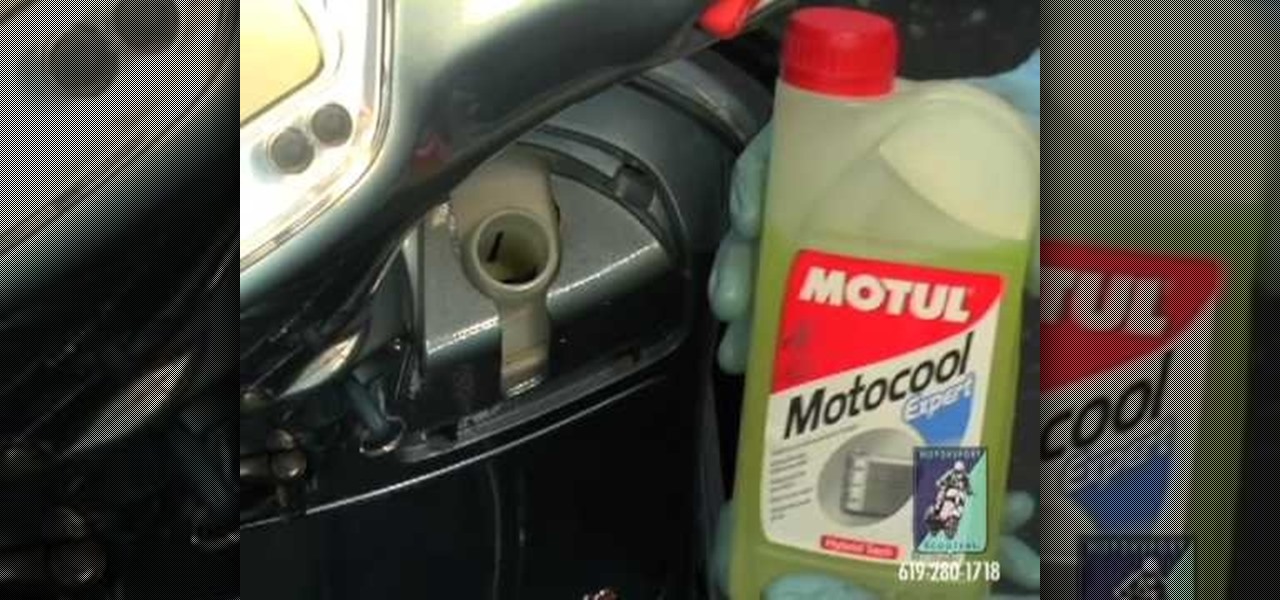
How To: Check the coolant level on a Vespa GTS and GT200
If you own a Vespa or are thinking about buying one, then you'll need to know how to check the coolant level. This is important because coolant helps make sure that your vehicle runs smoothly and doesn't overheat.
How To: Fix a leak from an RV water drain
If you own an RV and are noticing a leak from the area of the RV water drain, you may a problem on your hands. Depending on certain conditions, it might be a bit problem or a little one depending on the exact location.
How To: Install an RV fan when wires aren't close by
If you're new to the RV world, then this next tutorial might help explain a problem you may experience. Installing an RV fan is a great idea, especially if it's able to take out the old air in your car and bring in new air.

How To: Change the brake pads on your car
In this video, we learn how to change the brake pads on your car. First, raise your car up on a jack, then remove your caliper. Set all the bolts aside, and make sure not to lose them and remember where each bolt goes. Now, pop the caliper lose with a screwdriver to pop it open. Now, remove the pads and replace new ones with the old ones. When you are finished, replace everything that you just removed. Replace the bolts where they originally went, making sure everything is in the right place....

How To: Clean aluminum car wheels
In this video tutorial, viewers learn how to clean aluminum car wheels. The materials required for this task are: all purpose cleaner, water nose with nozzle and steel brush. Begin by wetting the tire. Then spray some all purpose cleaner onto the dirty parts. Now scrub those parts with the steel brush. Users may also use their finger nail to remove the rust. Don't spray too much of the all purpose cleaner on parts that don't need to be cleaned because it can damage the wheels. This video will...
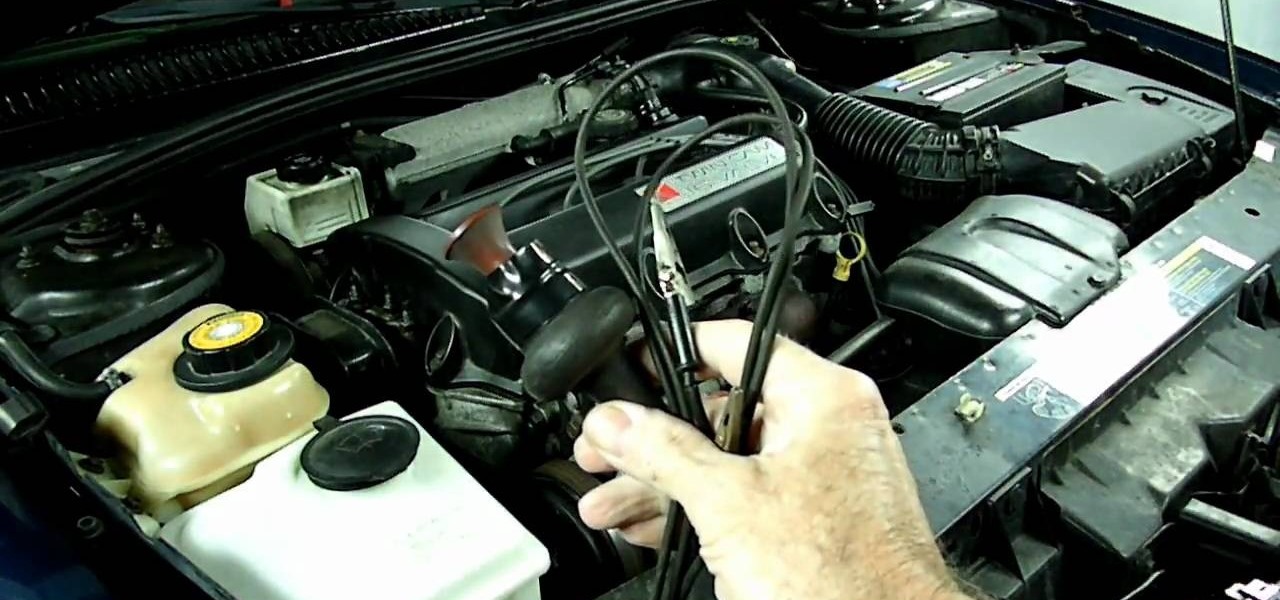
How To: Easily check your vehicle's alternator
This next tutorial is going to show you just how easy it can be to check your vehicle's alternator. There isn't really much that you need, just a tester or DVOM and some time.

How To: Clean out the sunroof drains on a Chevy Equinox
If you have a sunroof on your car, it's important that you regularly clean out the sunroof drains. Not doing so will result in a wet, stinky interior that can lead to a hefty repair bill.
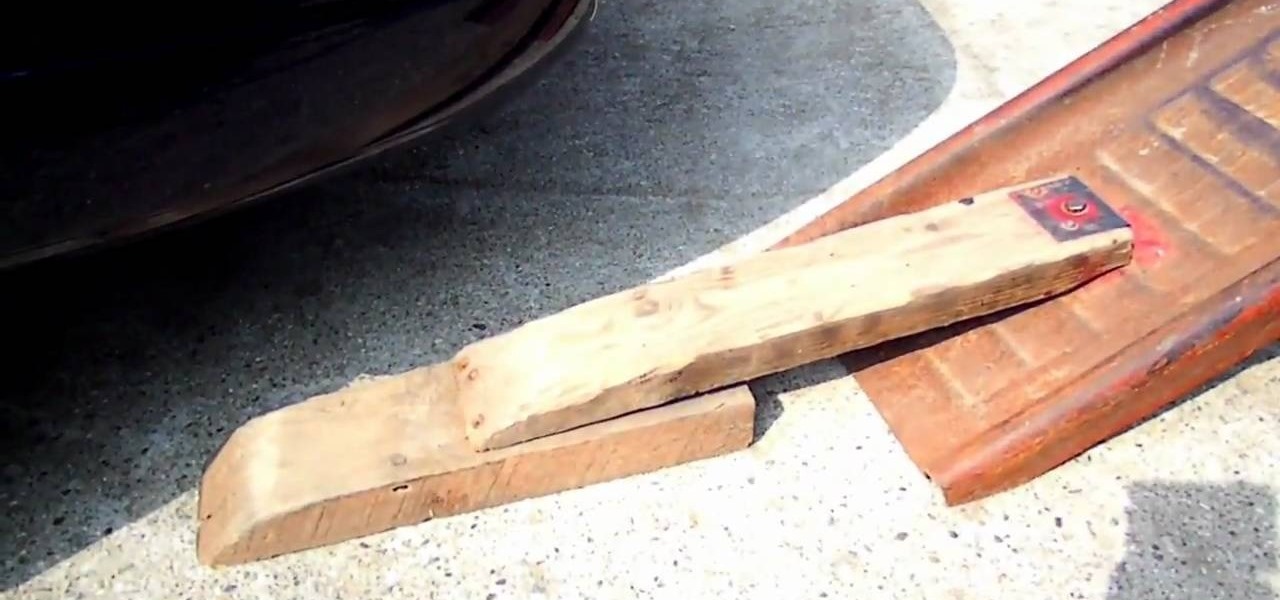
How To: Prevent your bumper from hitting a ramp
Ramps are great for allowing car owners to get underneath their vehicle to perform regular maintenance. But for some, their car bumpers tend to get damaged and cause scratches.
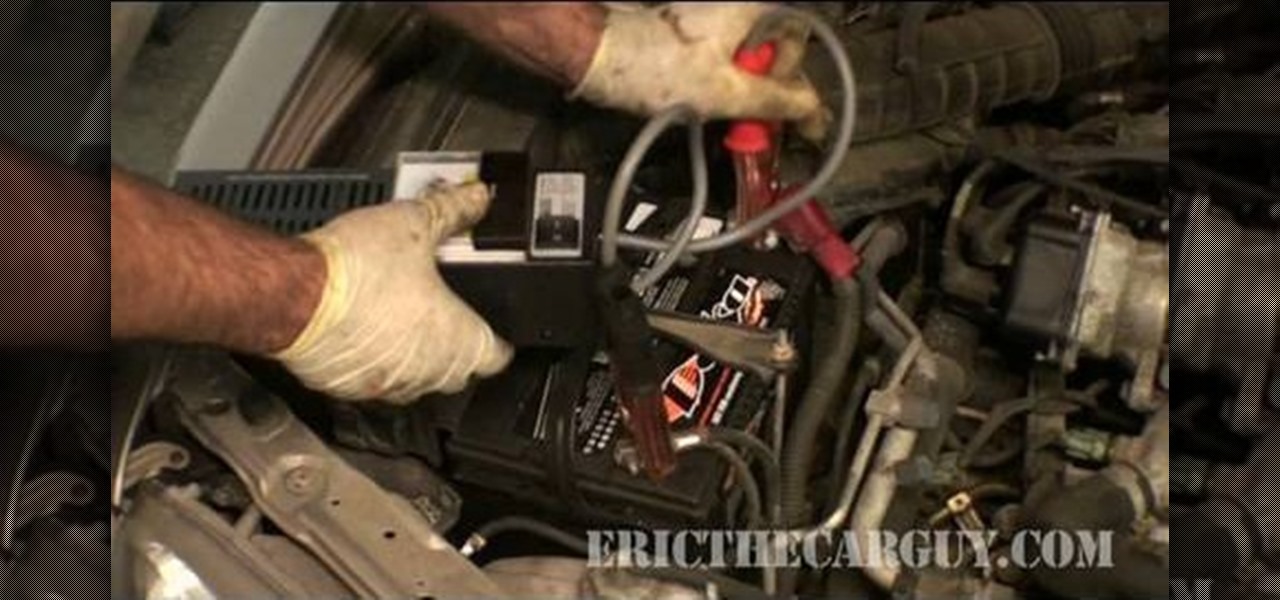
How To: Prevent a car from start to test the starter
In this tutorial, we learn how to prevent the car from starting to test out the starter. The most simple way to do this is to open the hood of the car up and find the fuse locations from the owner's manual. Pull the fuses out and when you try to start the car, it will crank but it will not be able to start. You can use this to test out the battery and test the starter. When finished, remember to replace the fuses back into the car just how you removed them, then restart your car to make sure ...
How To: Bleed brakes on a 2008 Ninja 250R motorcycle
In this video, we learn how to bleed brakes on a 2008 Ninja 250R motorcycle. To do this, you will need: brake fluid and a Phillips screwdriver. To start, remove the bracket around your brake system, then spin the top of your brake reservoir open. When bleeding the brakes, you will need a plastic pump to remove the fluid. You can purchase this at any auto parts store. Next, open the valve to the fluid and insert your pipe into it and allow it to leak into the bottle. If the fluid has air bubbl...
How To: Change the engine oil in a Chevy truck
In this tutorial, we learn how to change the engine oil in a Chevy truck. To start, you will want to place your car up on a secure jack so you can get underneath it with ease. Next, find the oil can and drain plug underneath the truck and use a wrench to remove the bolts around them. Now, place an oil pan underneath the drain plug and let the oil leak out into this until there is no more left. Next, clean off the bolt that is used for the drain plug and remove the filter from the underneath o...

How To: Check the oil in your car properly
One of the most important things about a car is the constant need to check the oil. This is an essential part of the car that will make sure it keeps going for years and years. Not checking the oil on a regular basis can lead to damage to your engine.

How To: Change the front brake pads on a 1986 Harley Sportster
In this tutorial, we learn how to change the front brake pads on a 1986 Harley Sportster. To begin, remove the parts that are surrounding the brake pads with screwdrivers and ratchets. After this, take the brake pad out of the motorcycle. One you've done this, replace the new brake pad in it's place. Make sure you are using the right tools to remove the machinery so you don't damage anything. next, replace everything back into where you found it. After this, tighten all the bolts and screw, t...

How To: Fix an RV water heater that won't light
Owning a car is already a big responsibility, but it doesn't even come close to how big it is when owning an RV. This cannot only take you from one place to another, but for some, it's considered their home on wheels.

How To: Remove stains from your car seats and carpet
In this tutorial, we learn how to remove stains from your car seats and carpet. To start, you will need cheap orange cleaner that you can find from your local Dollar Store, as well as cheap carpet cleaner. When you find the stain that is on your carpet, you will first spray it with the orange spray, then go over it once more with the carpet spray. After this, use a scrubbing brush and wash cloth to scrub out the stain in the affected area. When finished, let dry or use a vacuum to soak up any...

How To: Check the brake system for motorcycle safety
In this tutorial, we learn how to check the brake system for motorcycle safety. First identify the fittings around the master cylinder and the hose that runs down around the bottom fittings. When you squeeze the levers on the bike, check to see if anything is leaking out of this, if nothing comes out you're good. Now, check the back of the back by finding the fittings, then looking to see if anything leaks when you are touching the levers. Make sure you have enough brake fluid and your brake ...
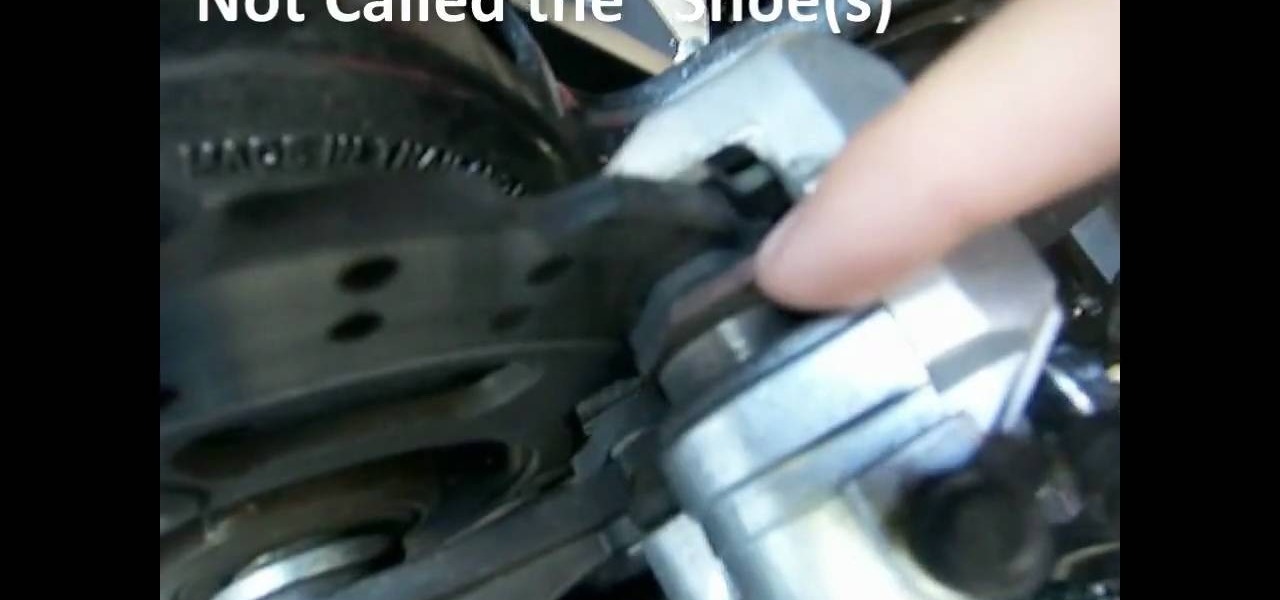
How To: Check the brake pads on a 2008 Kawasaki Ninja 250
In this tutorial, we learn how to check the brake pads on a 2008 Kawasaki Ninja 250. First, check the thickness of the brake pads on the car to see if they are thick enough. The rear pad is surrounded by a gold piece called the "shoe" and the rotor. The front pad has to be inspected by laying on your back and looking for the pad to see how thick it is. If the thickness is not enough, you need to replace it as soon as possible. Make sure the brake pads are up to the standards of the owner's ma...

How To: Replace your car's rear brake pad rotor
If you've been driving a car and constantly hear squeaking all the time, you would be wise to change your brakes. Not doing so can result in more damage to your car's brake pad rotor.
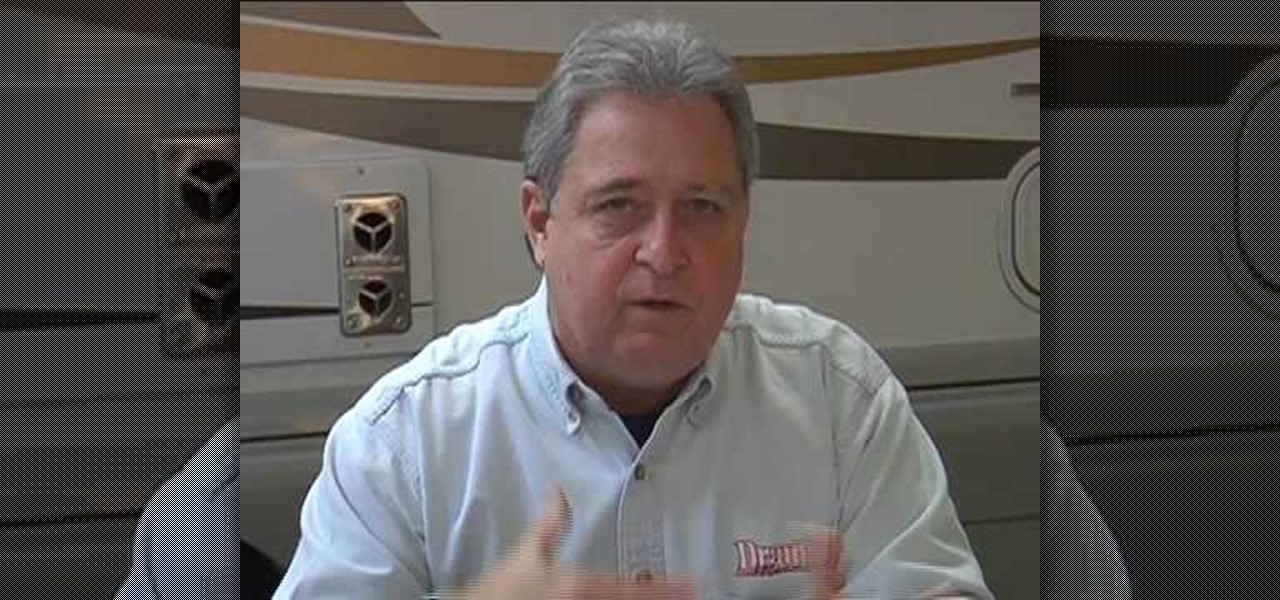
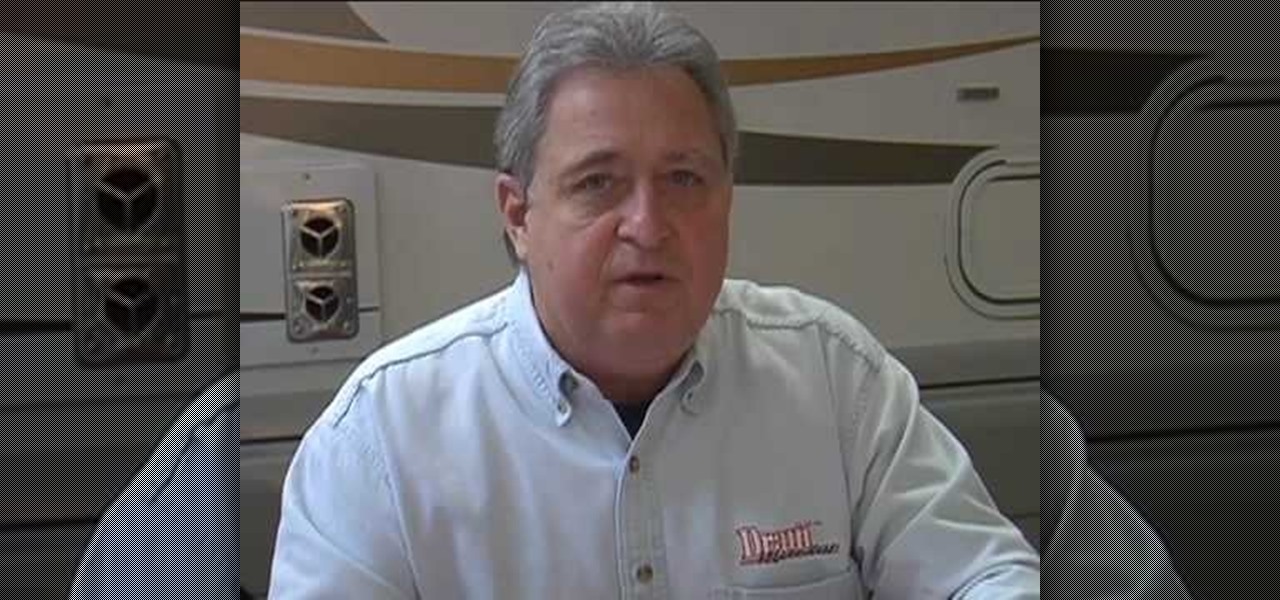
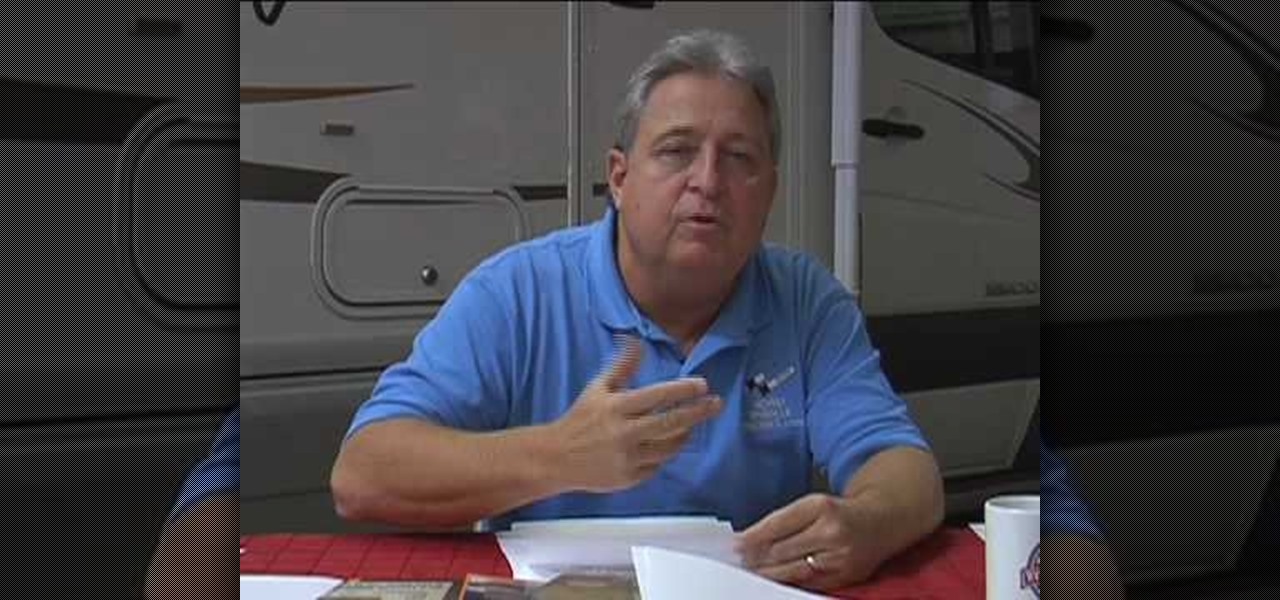
How To: Properly drain a fresh water holding tank on an RV
Are you thrilled to finally have your RV to motor around the country in? It does require a fair bit of maintenance. In this video, the RV Doctor tells you how to drain the water out of the fresh water holding tank on your RV. It'll help keep your RV in tip-top shape for traveling.
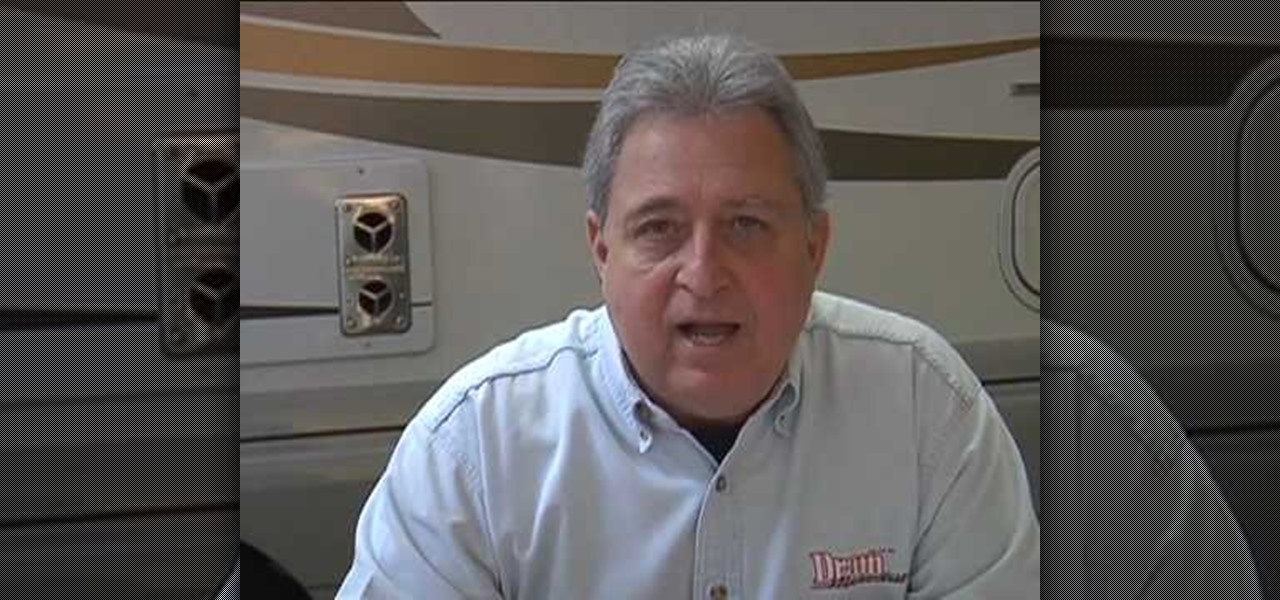
How To: Locate the slideout mechanism on a motorhome
Are you at a loss when it comes to fixing up your motorhome? It's a great vehicle for traveling - plenty of freedom, but it also requires some maintenance. In this video, the RV Doctor explains how you can locate the slideout mechanism in your motorhome so that you can lubricate it.

How To: Fix bubbles on an RV ceiling
If you have some bubbles that have appeared out of no where on your RV vehicle, it may be something to worry about. Obviously you don't want the bubbles to stay, so the best option is to fix it yourself.
How To: Check your brake fluid
In this Autos, Motorcycles & Planes video tutorial you will learn how to check your brake fluid. There are two things that you need to check; the quantity and the quality of the brake fluid. Locate the reservoir for the brake fluid and check the level of the brake fluid inside the reservoir. The level should not be low. If it is low, fill in more fluid to bring it up to the max level. It also has a sensor that will tell you when the fluid level is getting low. To check the quality of the flui...
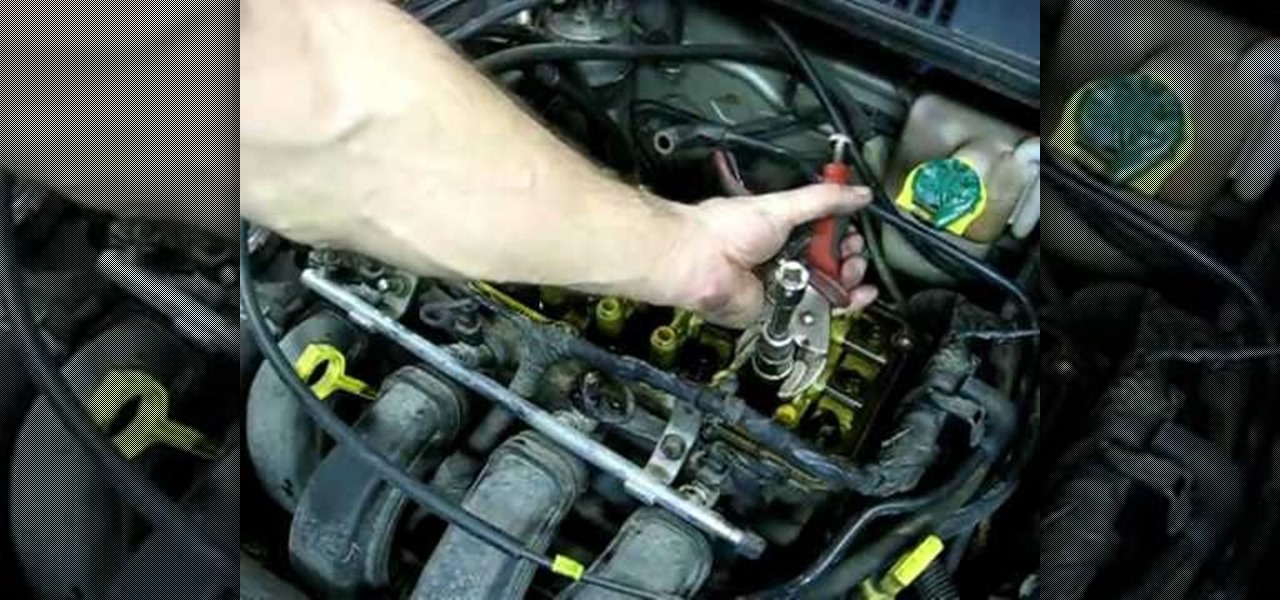
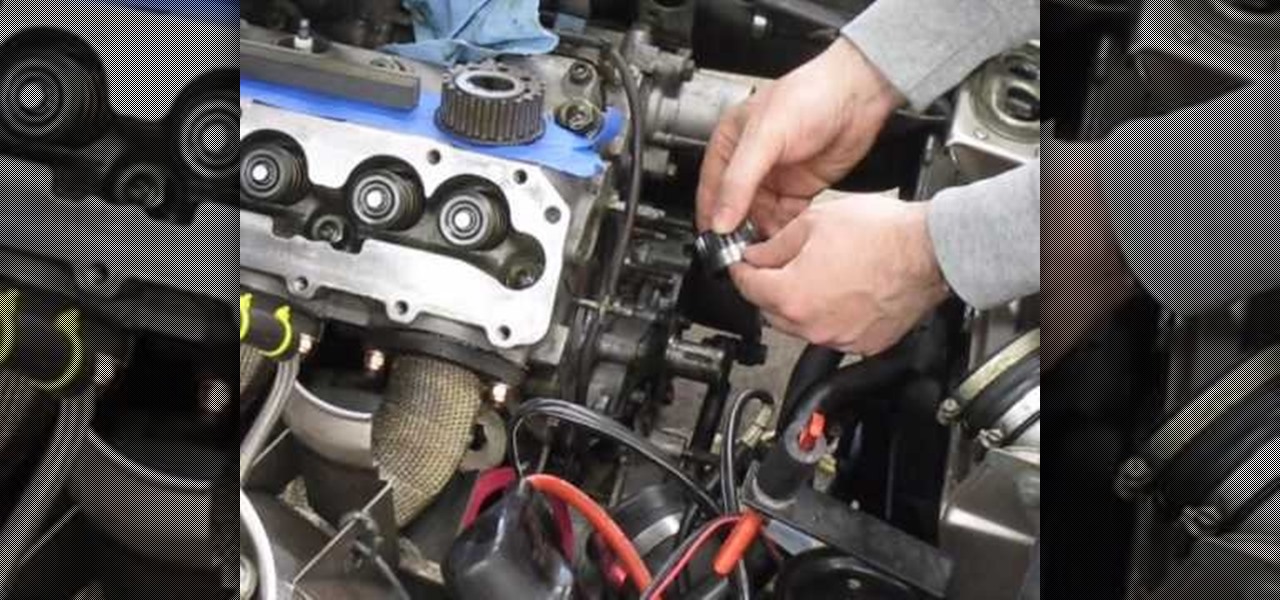
How To: Repair a damaged spark plug tube
In order to repair a damaged spark plug, you will need the following: pliers, newspaper, brake cleaner, a mallet, a block of wood, a screwdriver, a valve cover gasket set, Lock Tight, and a high impact socket.

How To: Correct Tire Pressure on a Classic VW Beetle Bug
In this video tutorial, viewers learn how to correct the tire pressure on a classic Volkswagen Beetle Bug. This car should use radial tires. It is recommended to use the 165R15 tires on this car. The pressure for the front tires is about 18 pounds, and the rear tires are about 23–25 pounds. If you over-pressure the tires, the car will end up swaying and bouncing. Don't put more pressure than the amount of weight that is specified in the car manual. This video will benefit viewers with a Volks...
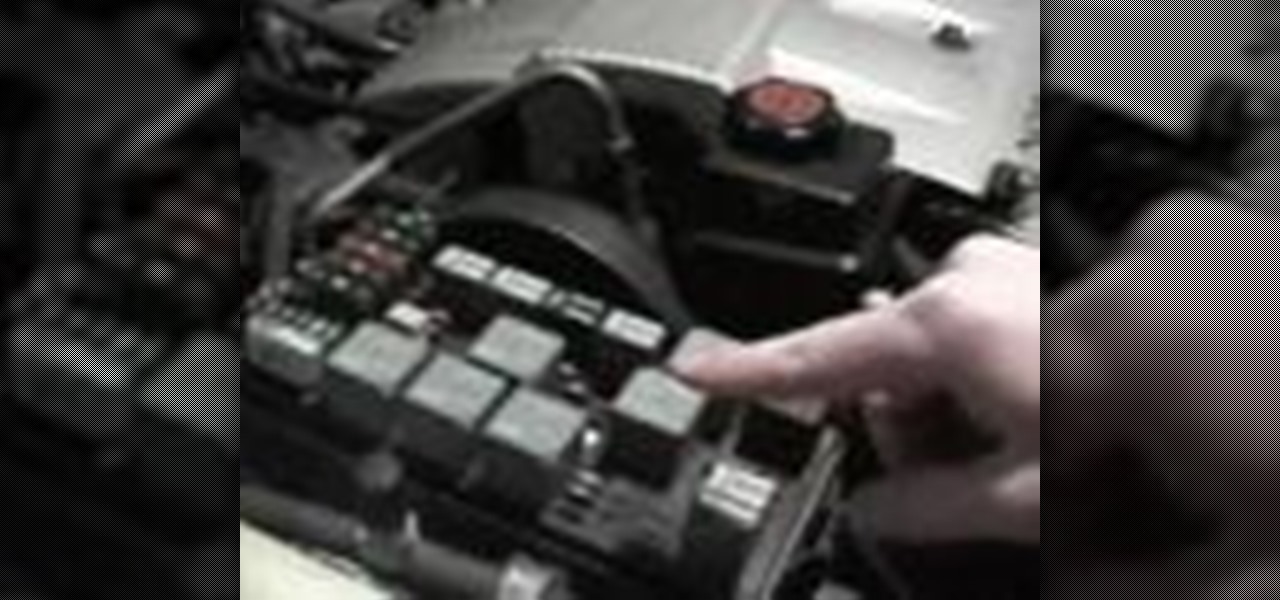
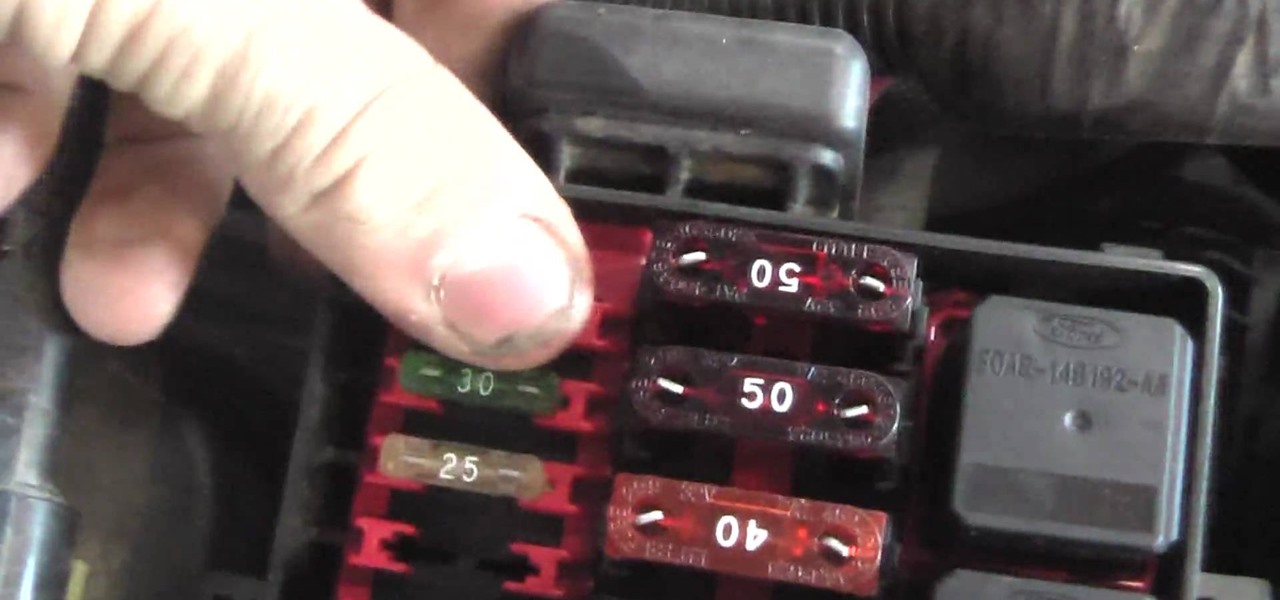
How To: Check the fuses in a Cadillac
In this tutorial, we learn how to check the fuses in a Cadillac. First, open the hood of the car and look for the fuse box that is left to the engine. Now, open the clips on the fuse box and take the top off. You will now see a diagram of what all the different fuses of the car are and what they do. The big gray boxes are relays, which you most likely won't need to touch. The fuses are small little boxes that you can take out with a pair of pliers. If a fuse needs replaced, you will be able t...
How To: Install a remote starter switch on your car
When working on a car, there are so many different tools out on the market designed to help make fixing a car easy. One of those tools is a remote starter. This comes in handy when you might want to perform a compression test on the car.
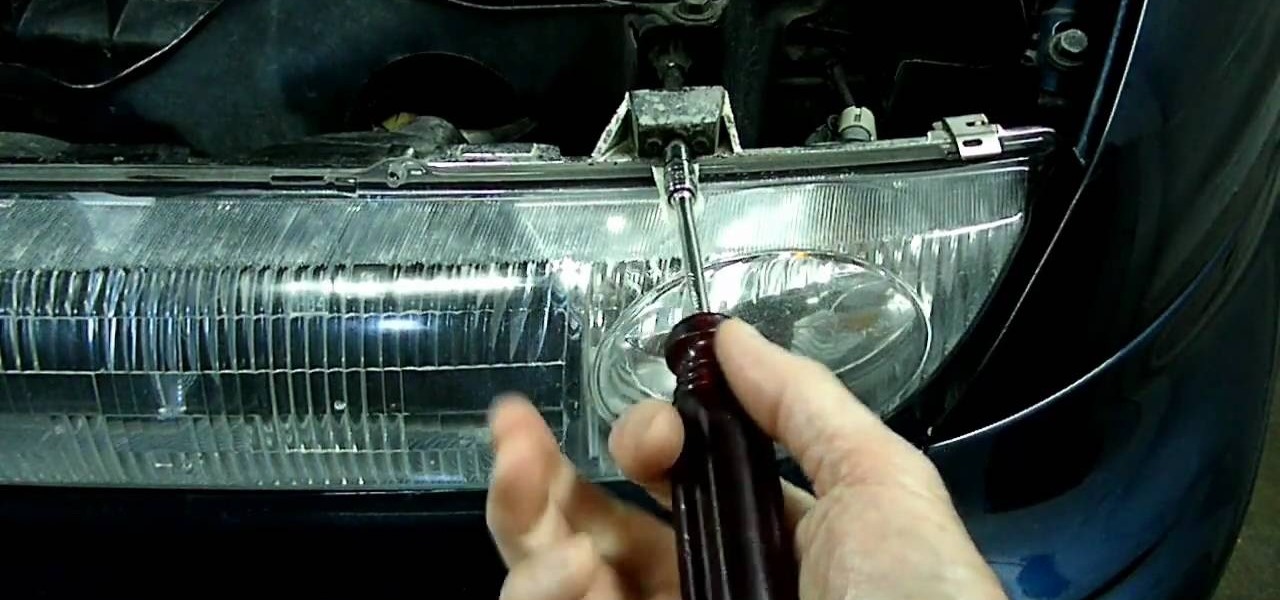
How To: Adjust the headlights to a Saturn S-series
If it starts to get dark and you notice your headlights are facing different directions, you may need to adjust them. It's important that you have your lights facing the same direction to avoid any damage or injury to anyone else that may be driving.
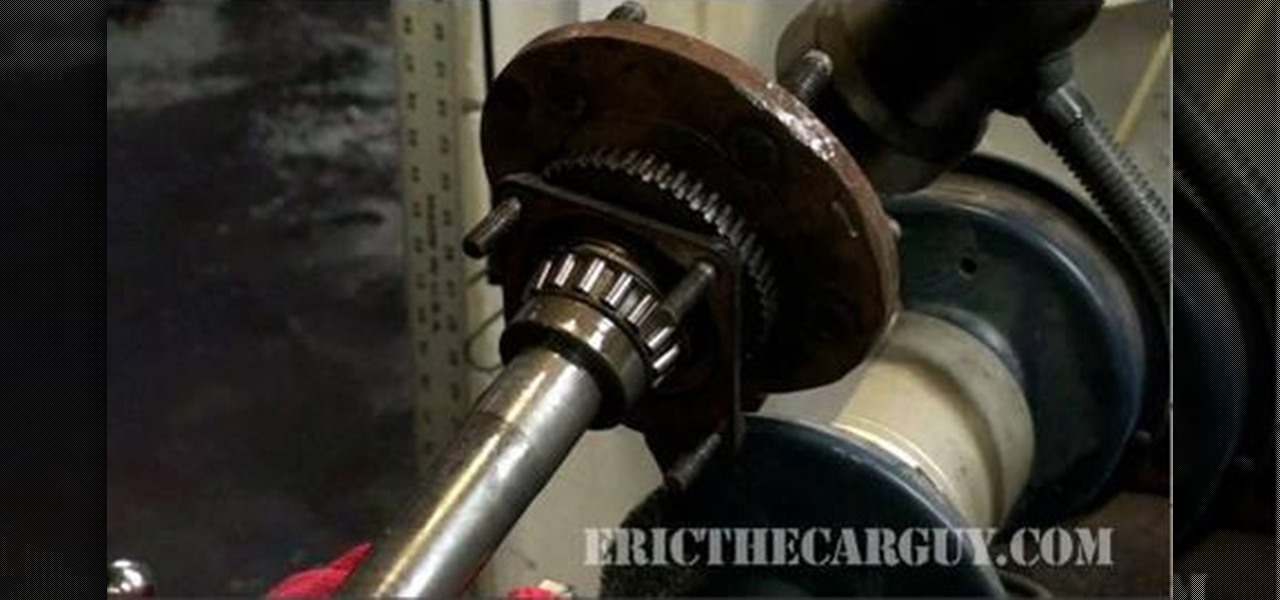
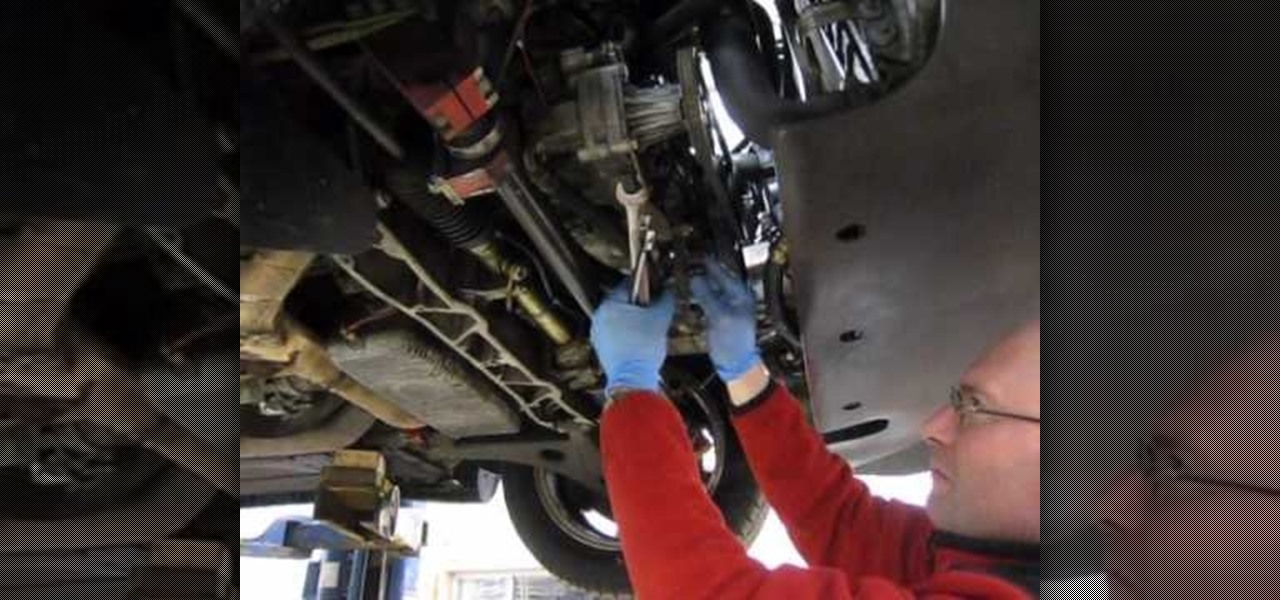
How To: Easily remove pressed-on bearings
If you're having a hard time removing pressed-on bearings on a certain part of your car, have you tried using a saw? It may sound a bit unorthodox, but in this next tutorial, you'll find out how you can easily remove pressed-on bearings using nothing more than a saw. It's easy to follow, but can be dangerous for those who are unexperienced. So check out the video to find out more and good luck!

How To: Fix a fuel pump on a Saturn S-series
If you're running into problems with your fuel pump, there are many possible causes with various solutions.
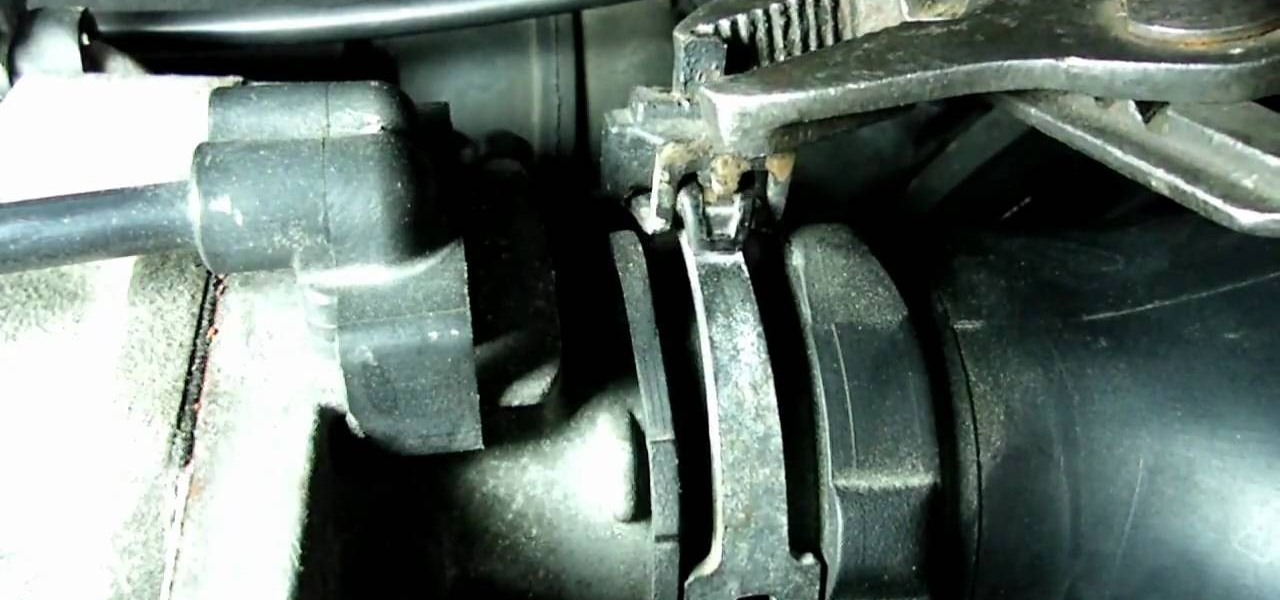
How To: Remove self retaining air duct clamps on a Saturn
When working on your car, it's always important to know how things work and what can be removed. If you can remove a certain part easily, in order to get to another part, it makes the day much easier.

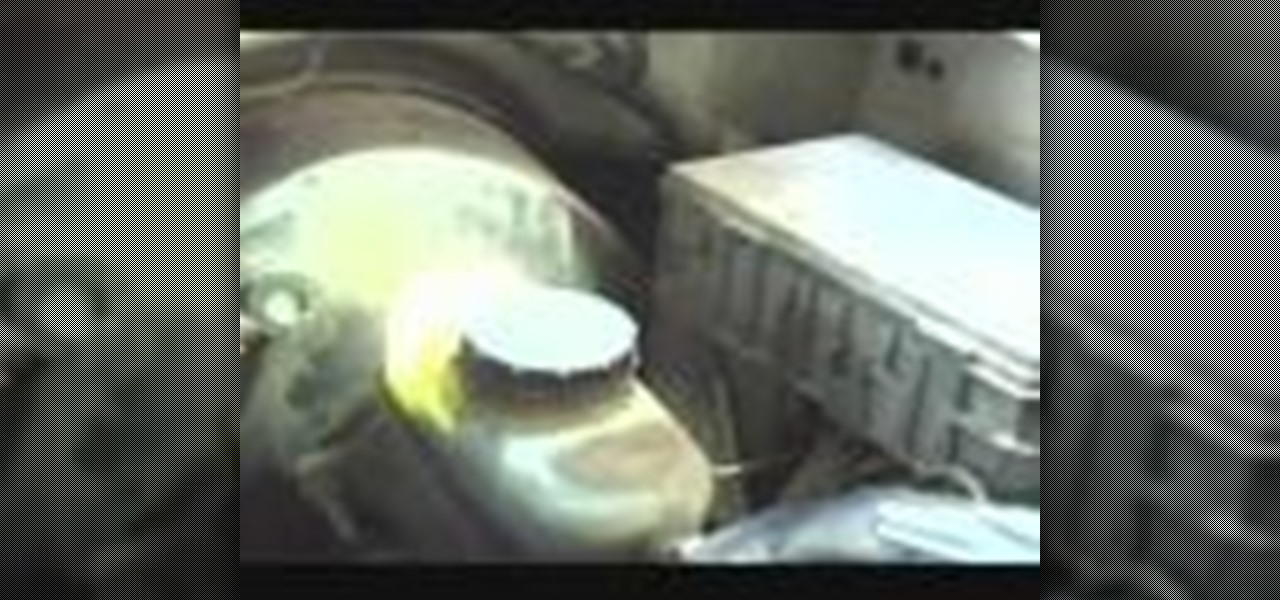
How To: Find oil leaks using florescent dye & ultraviolet
In this tutorial, we learn how to find an oil leak using florescent dye. First, you want to pour the dye into the oil canister and let the car run for about 10 minutes. After this, turn the lights off in the garage and grab a florescent light, and bring it into your engine. You should now be able to see where the oil is leaking from inside the engine, so you can fix the problem quickly. The accuracy of this method is 100%, and you won't have to second guess yourself that you have the wrong so...
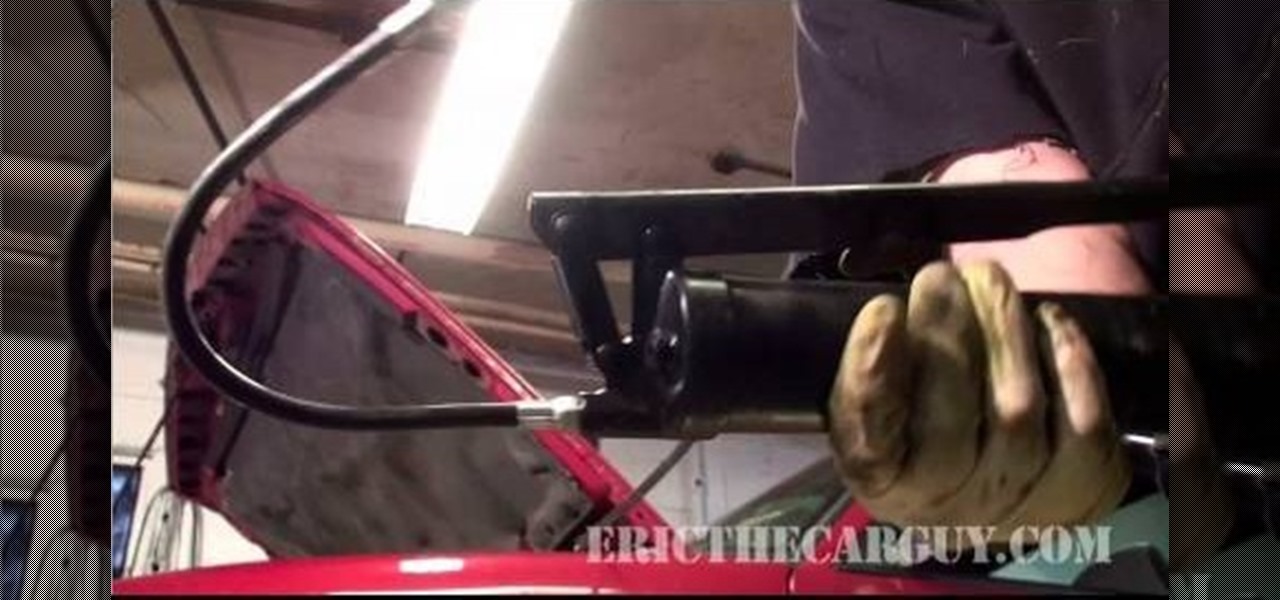
How To: Use a grease gun to help lube a chassis
When it comes to maintaining your car, it's always important to check certain areas to make sure they are properly lubed and not causing any damage at all. One area to check is the chassis on your car. Making sure that it's properly lubed is important.