

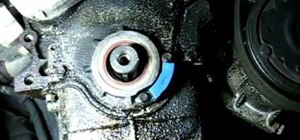
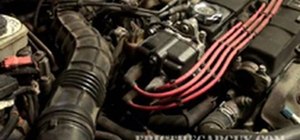
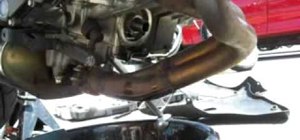
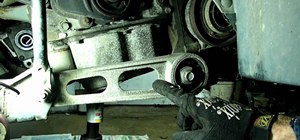
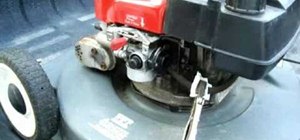
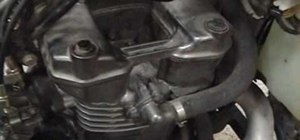
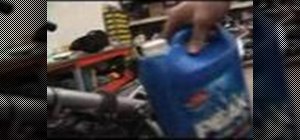
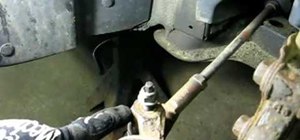
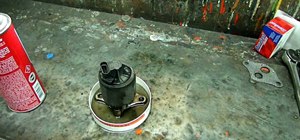
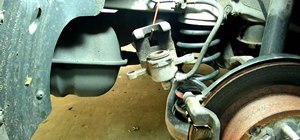
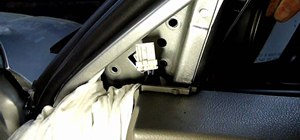
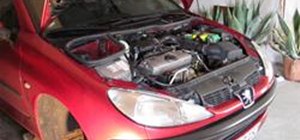
In this video demonstration you will see the work done on a GM 3.1 Liter V6; your instructor is replacing the cam cover seal. First raise the car into the air, remove the tire wheel assembly and place a jack stand underneath the car or vehicle on the side where you have removed the tire wheel assembly. Now remove the serpentine belt from the engine by using a 3/8ths breaker bar. Place it on the tensioner and lift up while removing the belt from the alternator. Keep lifting the belt out from the crank shaft until it clears and lay it aside. Inside the wheel well is a splash shield which should be removed next. With the splash shield remover (tool) pry out the pins that are holding it on. Once you do this you can remove the splash cover which will reveal the next item, the crank pulley, which is held on by a bolt. Now pull the crank pulley out with your tool. Remove the seal from the next underlying part, which is rubber, with a seal removing tool, with small hooks on each side that can grab the rubber, or just pry it out with a screwdriver. Put the new seal in place and tap it in tightly all around. Place a socket over this the same diameter as the seal, also hammering all around to secure it. Put the gasket aside and grease the seal, going all the way around its circumference. Take the pulley (with some sealer in the key way) and place it back in, and then tap it lightly in place, until the bolt fits. Jar it in place. Put the splash shield and serpentine belt back on, put the tire wheel assembly back in position and you are done.
Just updated your iPhone? You'll find new emoji, enhanced security, podcast transcripts, Apple Cash virtual numbers, and other useful features. There are even new additions hidden within Safari. Find out what's new and changed on your iPhone with the iOS 17.4 update.


Be the First to Comment
Share Your Thoughts